Roku Blinking White Light: 12 Fast Fixes
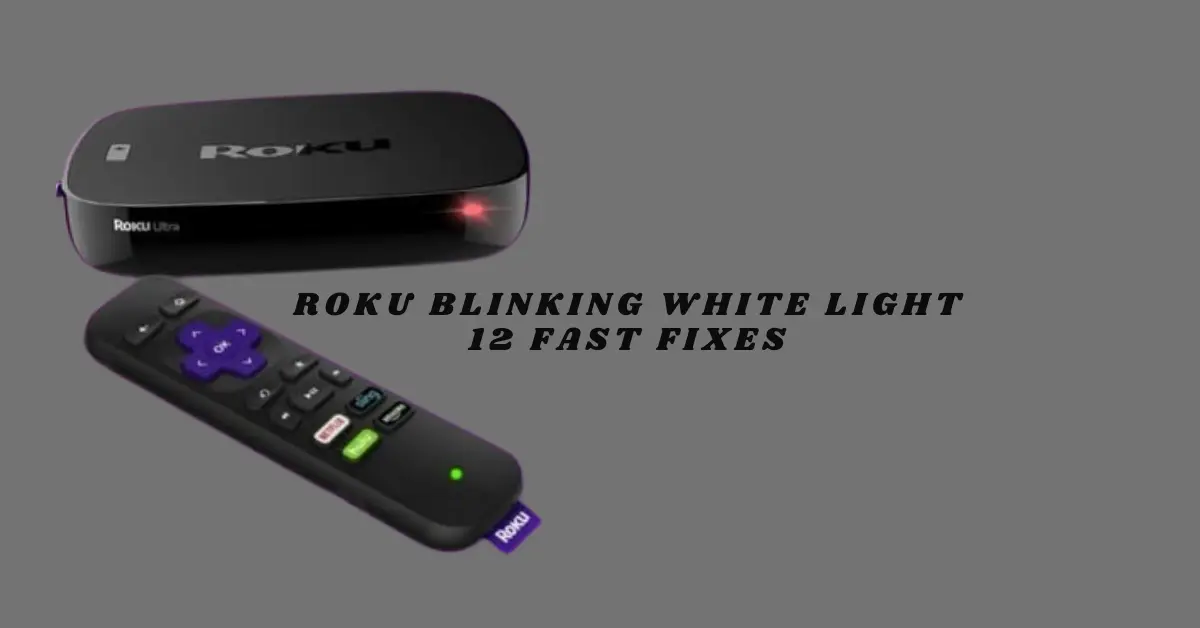
If the white status light on your Roku streaming device is rapidly blinking, it means your device is not functioning properly. A blinking white light indicates there is an issue that needs to be addressed for your Roku to work correctly.
Experiencing a blinking white light on your Roku can be frustrating, disrupting your streaming experience and leaving you searching for solutions. Fear not, as we’ve compiled 12 fast fixes to address this common issue.
Whether you’re facing an unresponsive device or interruptions in your smart TV usage, these proven remedies are here to help. From simple troubleshooting steps to more advanced techniques, you’ll find practical solutions to get your Roku back up and running smoothly. Dive into this guide to regain control of your streaming device and enjoy uninterrupted entertainment.
Also Read: Why You Can’t See Songs In Your Spotify Playlist
Why Is Roku Blinking White Light?
If you’re noticing a blinking white light on your Roku, several common reasons might be behind it:
How To Fix Roku Blinking White Light?
Find below the troubleshooting instructions to fix this problem:
Solution 01: Test the HDMI Ports on the TV
Roku streaming devices are equipped with the following types of HDMI output ports.
| Roku Model | Output HDMI | Input HDMI |
| Roku Express | HDMI | HDMI with Digital stereo |
| Roku Express 4K | HDMI | HDCP 2.2 |
| Roku Streaming Stick 4K | HDMI 2.0b | HDCP 2.2 |
| Roku Ultra | HDMI 2.0b | HDCP 2.2 |
| Roku Streambar | HDMI 2.0a | HDCP 2.2 |
| Roku Streambar Pro | HDMI 2.0a | HDCP 2.2 |
To ensure compatibility, your smart or HD TV should have a corresponding HDMI input port for the Roku device you’re using. If you encounter a blinking light on any of the listed Roku models, try connecting its HDMI output to each HDMI port on your TV, testing one at a time.
After each connection, check if your TV displays the Roku home screen. This step-by-step process helps identify any potential issues with HDMI connectivity and ensures you can enjoy uninterrupted streaming.
Solution 02: Plug in the Roku Streaming Stick Directly
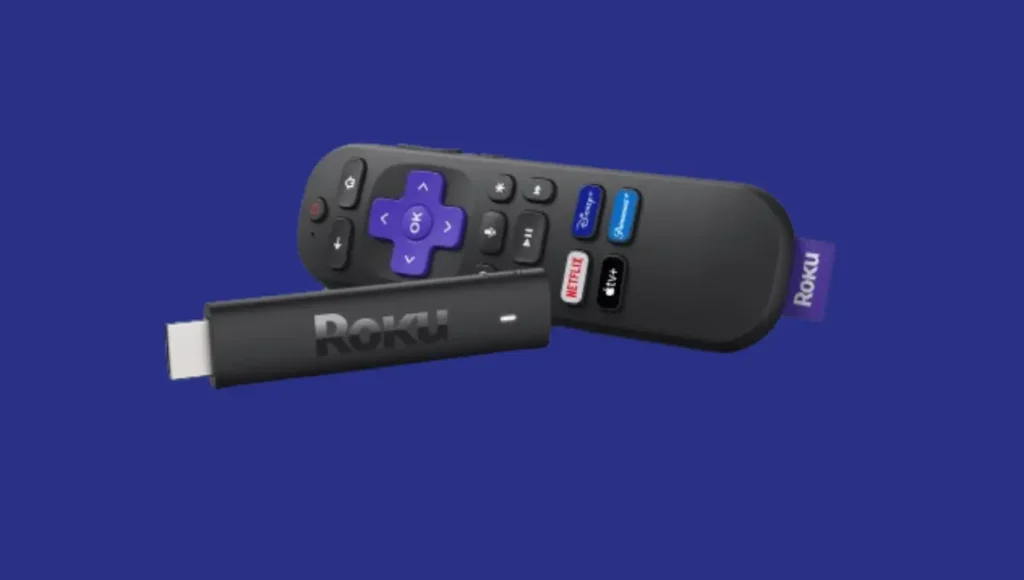
Remove the HDMI extender and directly connect the Roku Streaming Stick to a suitable HDCP 2.2-supported HDMI port on your HD TV or Smart TV. Power on the Roku device to confirm if the display is functioning properly.
Solution 03: Use a Different HDMI Cable That Works
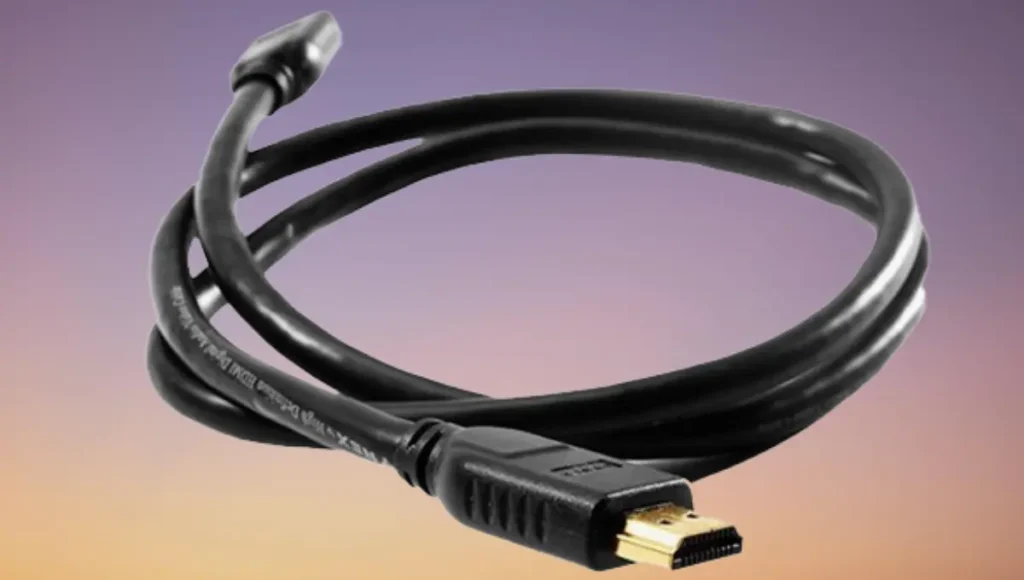
Replace the current HDMI cable with a different one that you know functions properly. This can help resolve any issues stemming from a faulty cable, ensuring smooth and reliable connectivity between your devices. By using a known-working HDMI cable, you increase the likelihood of establishing a stable connection and resolving any display or signal problems you may be experiencing.
Solution 04: Change the Output Resolution of the Roku
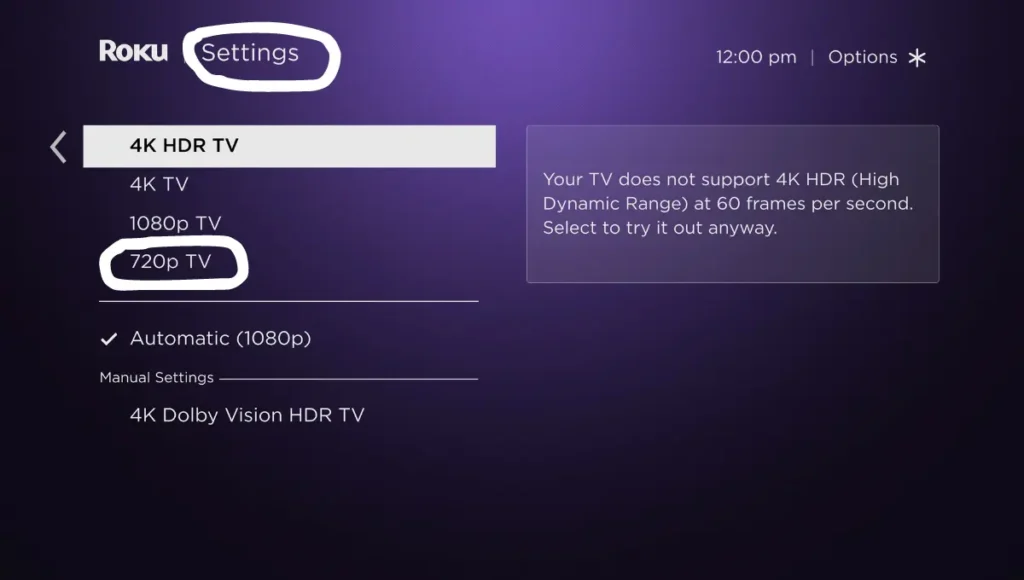
If your TV doesn’t support Roku’s resolution, you need to connect the Roku to an HD or Smart TV that can handle at least 1080p. Here’s what to do:
If a white light keeps flashing, your TV doesn’t support 720p resolution. In that case, you’ll need to replace it with an HD or 4K Smart TV.
Solution 05: Use Roku’s Power Adapter
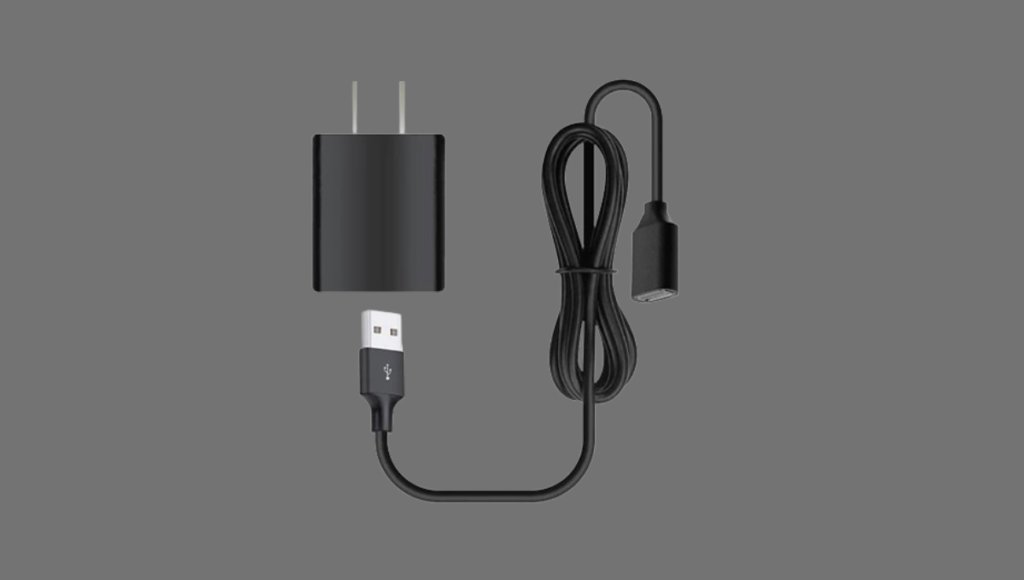
Sometimes, the USB port on your TV might not give enough power to your Roku streaming device. So, instead of using the USB port on your TV, it’s better to use the power adapter that came with your Roku. This way, you can ensure that your Roku gets enough power to work properly.
Solution 06: Test Roku on Another Smart TV
Verify the functionality of the Roku by connecting it to another Smart TV. This step will help determine if the Roku device itself is operational or if the issue lies with the original TV.
If the Roku works on the alternate Smart TV, it suggests compatibility problems with the initial TV setup. If it fails to function on the second TV, it may indicate potential hardware or software issues with the Roku device itself.
Solution 07: Check Your TV’s Input Options with Remote Control
Solution 08: Re-Pair Roku Remote
If the battery compartment LED on your Roku remote blinks white, it means there’s an issue with pairing. Here’s how to solve it:
When you see “pairing complete” on the TV screen, your remote should be successfully paired with your Roku device.
Solution 09: Change Roku Remote Batteries
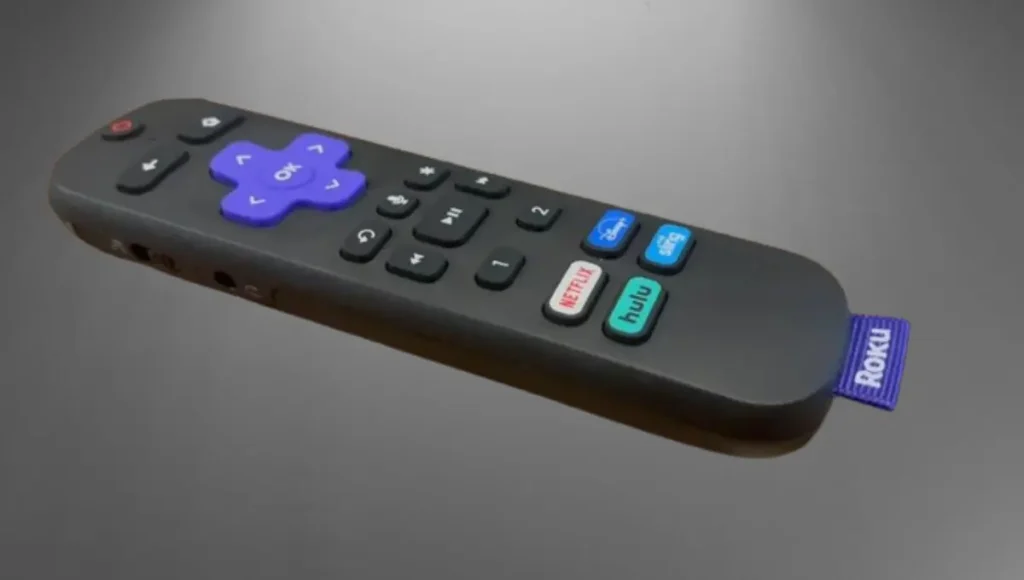
If the battery strength indicator LED on the front of your enhanced Roku remote blinks white, it means there’s an issue with the batteries.
To fix this:
By following these steps, you should resolve the issue with the blinking white light on your Roku remote.
Solution 10: Fix the Wi-Fi Connectivity
To rectify Wi-Fi connectivity issues, start by rebooting your router. If problems persist, try connecting to a different network like a mobile hotspot for troubleshooting.
Additionally, enhance performance by configuring your router to support dual-band Wi-Fi channels, including both 2.4 GHz and 5.0 GHz frequencies if supported. Follow specific instructions on your computer to adjust router settings.
These steps aim to resolve connectivity problems and ensure the smooth operation of your devices on the network.
Solution 11: Update Roku Firmware
Your Roku firmware is now updated, ensuring optimal performance and feature enhancements.
Solution 12: Factory Reset Roku
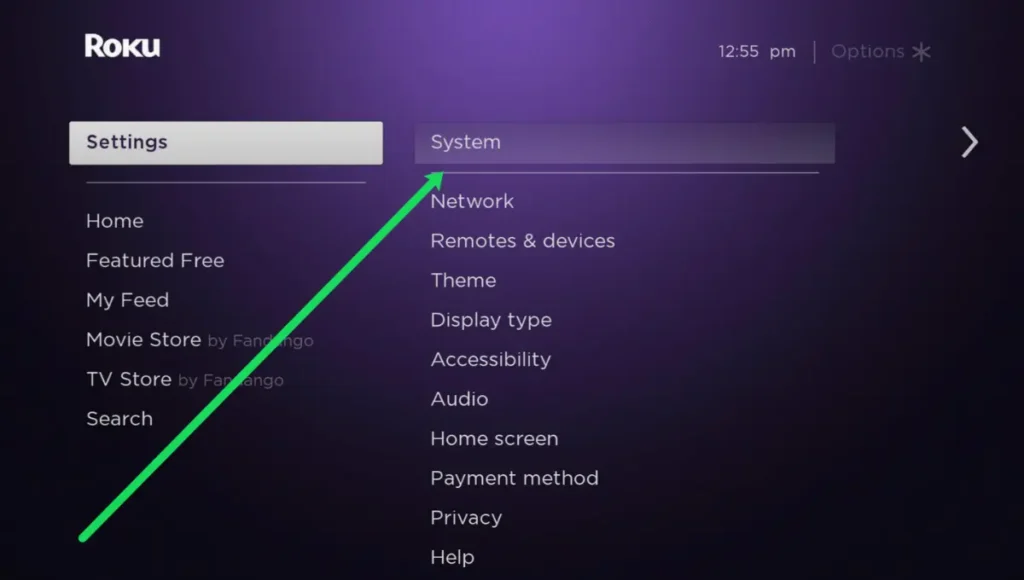
To initiate a factory reset on your Roku device, adhere to these instructions:
Your Roku device will restart, and you’ll see the Roku welcome screen indicating that the factory reset is complete.
Frequently Asked Questions
Conclusion
Encountering a blinking white light on your Roku can be frustrating, but with the 12 fast fixes provided, you’re equipped to troubleshoot and resolve the issue effectively. Whether it’s adjusting cables, resetting the device, or updating firmware, these steps offer practical solutions.
However, for more complex issues like resolution compatibility or hardware/firmware problems, reaching out to Roku support ensures comprehensive assistance. By combining these fixes with expert guidance, you can enjoy uninterrupted streaming and make the most out of your Roku experience.

