Why is My Oculus Blinking Red Light? (Causes & Easy Fixes)
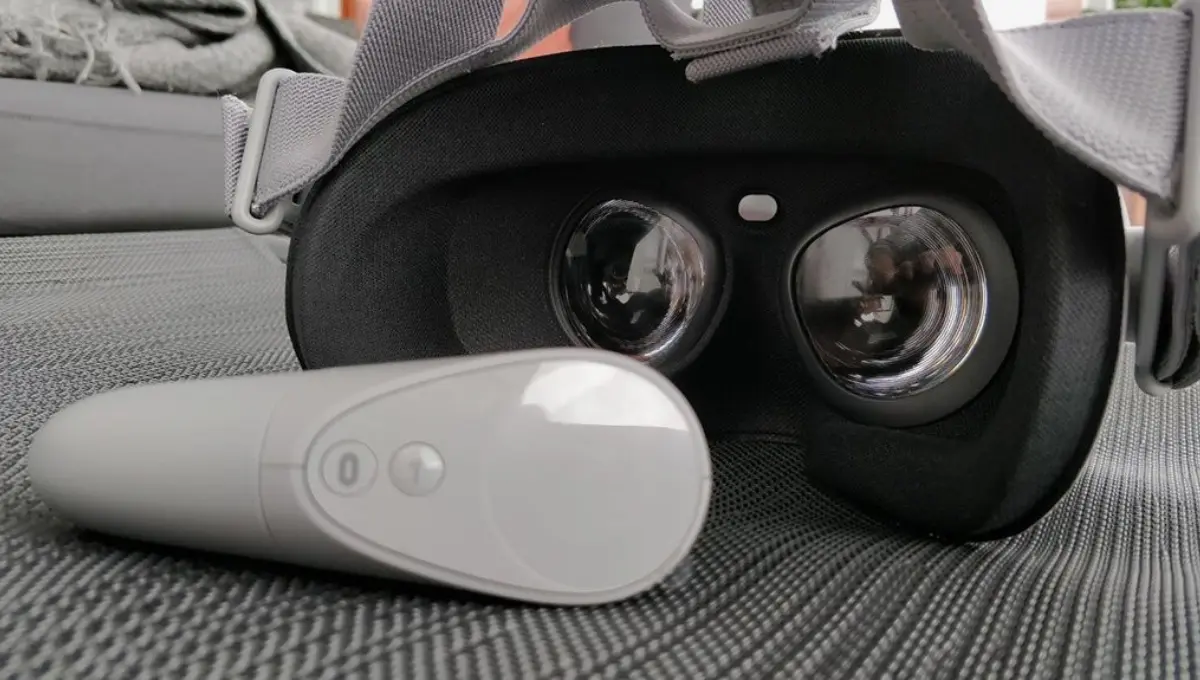
If you find your Oculus blinking red light, it typically indicates a low battery. However, some users encounter issues even after plugging in the charger. To address this, start by refraining from attempting to use the Oculus until it is adequately charged, which may require several hours.
If it seems stuck on a charge, try using a different power outlet or an alternative charger and charging cable. Experimenting with a battery pack can be useful to bypass a non-responsive battery. Additionally, consider restarting your Oculus, checking for firmware updates, and installing any missed updates.
Also Read: Oculus Keeps Turning Off
Oculus Quest 2 Blinking Red Light: The Most Common Fix That Works
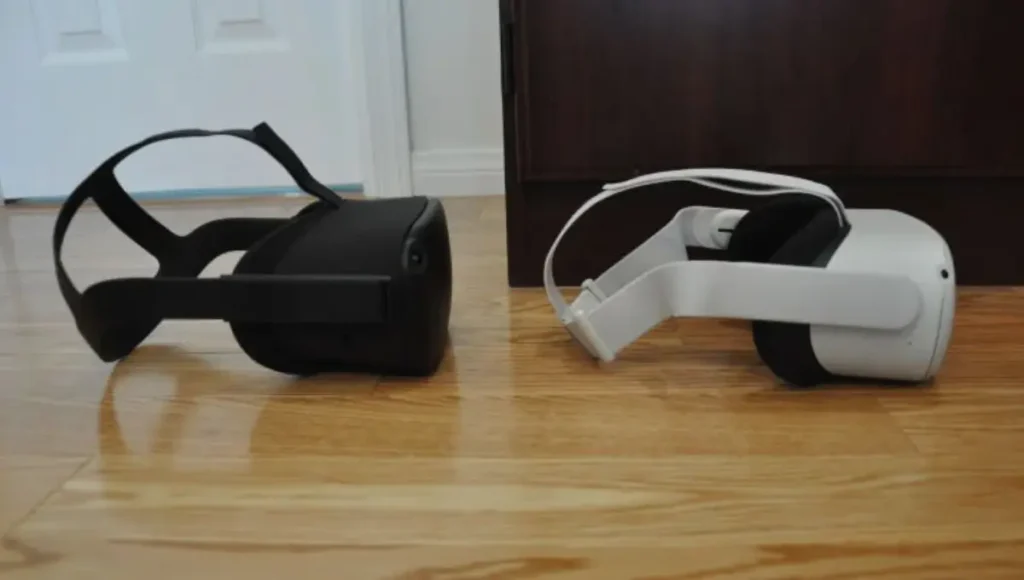
3 Hours Later… The Oculus Blinking Red Light Han’t Turned Green
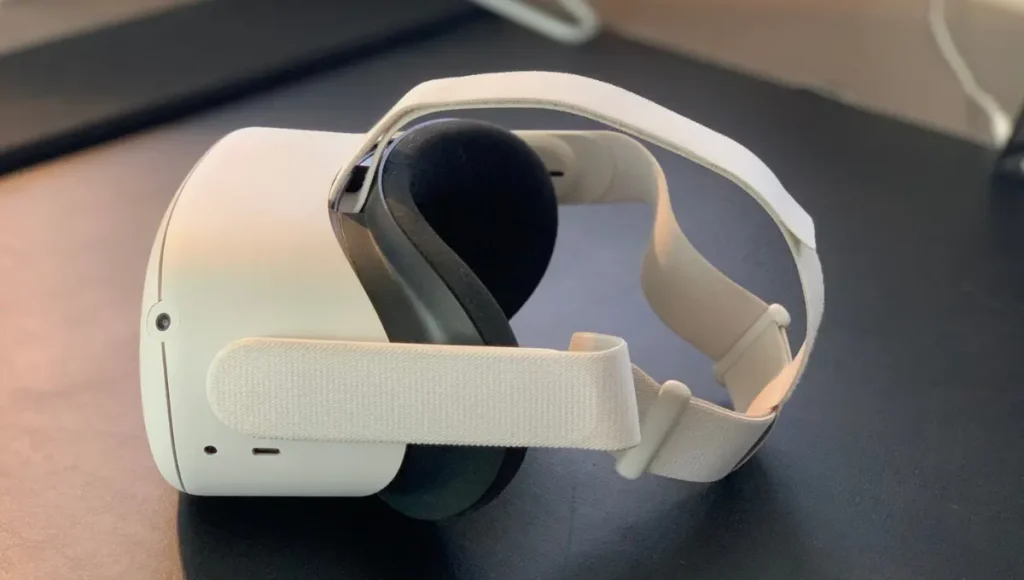
As the situation becomes more intricate, concerns may arise regarding the durability of your Oculus battery or potential issues with the charger. Amidst these worries, the fear of not being able to revive your Oculus may start to loom large.
However, there’s no need to panic. Before jumping to conclusions about potential hardware problems, there are several troubleshooting steps you can explore. Take a breath, and let’s explore these alternatives before growing overly concerned about the status of your Oculus device.
1. Was Your Headset Set to Auto-Wake? Turn it Off!
If you find yourself dealing with a persistent flashing red light on your Oculus Quest, consider addressing the issue by disabling the auto-wake feature. Auto-wake can lead to a faster battery drain compared to the charging rate. To toggle this setting, navigate to the Device tab and locate the Power sub-menu.
Keep in mind that by turning off this feature, you’ll need to manually press the button to wake your device when you’re ready to use it. This adjustment can potentially alleviate the battery-related concerns associated with the flashing red light.
2. Too Easy? Try a Reboot!
It’s always worth attempting a quick fix, and a reboot can often resolve software glitches in your Oculus system. To initiate a reboot, press and hold the power button for 30 seconds.
Look for the appearance of the Oculus logo, signaling that the device is restarting. Several users have reported success with this straightforward solution, transitioning their Oculus from a blinking red charge light to a green indicator, indicating that all systems are ready to go.
3. Try Charging Through Your Computer
Experiment with connecting your Oculus directly to your computer to assess if it charges in this setup. Keep in mind that the charging process may be slightly slower in this configuration.
If you observe successful charging when connected to your computer but face challenges with the standard power supply, it indicates potential issues with either the USB wall adapter or the charging cable. Investigate these components for any faults that might be hindering the charging process.
4. If the USB Cable Is To Blame, Switching it Up Could Work
Have you ever encountered the frustrating scenario of leaving your phone on charge overnight, only to discover a nearly depleted battery in the morning? This issue, characterized by slow charging or failure to charge, may stem from using a damaged USB cable or an incompatible one.
A straightforward solution to troubleshoot this problem is to try using an alternative USB cable. However, it’s important to note that assessing the effectiveness of this solution may take a couple of hours.
5. Is Your Firmware Up to Date?
If your Oculus has been inactive for an extended period or in sleep mode, it might not automatically initiate software updates, even if you’ve enabled the feature. In such cases, manual software updates become necessary. If your Oculus is still responsive, utilize your right-touch controller to navigate to the Meta icon and access menu options.
Locate the clock icon on the left side, hover over it, and a quick settings option should appear. Choose it. Find the cog wheel settings icon at the top right, select the option, navigate to the System section, and explore the left-hand menu for the clock icon offering a software update option. Choose it to manually update your device’s software.
6. After Looking for Physical Damage, You Might Want to Try a Factory Reset
At this stage, we’re optimistic that your device isn’t damaged. However, it’s essential to acknowledge that while a factory reset can serve as a viable solution, it comes with the drawback of erasing all your data. If you have a backup, this might not pose a significant issue, but the process of restoring saved data does entail additional effort on your part.
Therefore, before considering a factory reset, which essentially reverts your device to its original state, it’s advisable to inspect for any physical damage (details provided below). If, after assessment, you still choose to proceed with a factory reset, navigate to settings/device and select the reset option, then follow the provided instructions.
Checking For Physical Damage
If your device is damaged, the blinking red light on your Oculus could be an issue requiring external assistance or possibly necessitating the purchase of a new Oculus—neither of which brings good news. However, before delving into such scenarios, consider the possibility of improper contact in your charging ports.
Use compressed air or a soft brush to clean them, and with a bit of luck, your Oculus may resume proper charging. In cases where the battery isn’t charging or holding its charge, exploring the use of an external battery pack can provide insight. If everything functions well when connected to the external pack, it points to potential issues with the charger or the battery’s inability to retain a charge.
When faced with the mysterious Oculus 2 blinking red light, scrutinize all ports, cables, and the device itself. Remember the option of charging through a laptop and refrain from assuming device damage unless you’ve attempted a restart.
Any Port in a Storm: Try Oculus Support
Reviews for Oculus Support vary, with some users expressing satisfaction, likely due to successful issue resolution. However, a significant number of users report dissatisfaction when their problems remain unresolved. Despite mixed opinions, it’s worth attempting to reach out for support.
When contacting them, be sure to provide details about the steps you’ve already taken to avoid redundant troubleshooting, such as common inquiries like, “Has your device been charged?” This proactive approach can streamline the support process and potentially lead to a quicker resolution.
The Bad News: Oculus Batteries Don’t Last Well
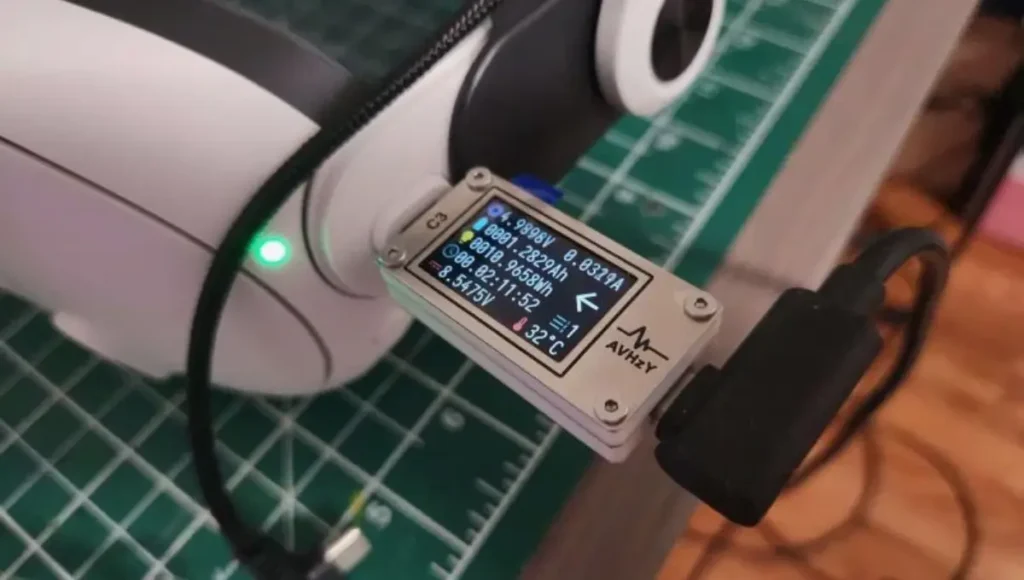
We’re not just discussing the duration between charges, which is admittedly not very long, standing at a decent 3 hours of battery life – a duration that might fall short for avid gamers, hence the popularity of external battery packs as essential accessories.
However, the built-in battery pack faces challenges in terms of longevity, especially if one tends to charge it to full capacity. Some experts suggest avoiding charging beyond 80 percent to extend the battery’s lifespan, but even then, one shouldn’t anticipate more than a year of reliable service.
Replacing the battery isn’t a straightforward task, and if the battery fails, the Oculus blinking red light indicates an attempted charge that proves unsuccessful. While easy fixes are hoped to be effective, it’s essential to acknowledge that battery lifespan poses a genuine concern with Oculus devices.
How do I get rid of Red Plus on Oculus?
Here are a few best ways to get rid of Red Plus on your Oculus VR headset:
Why is my Oculus light staying red?
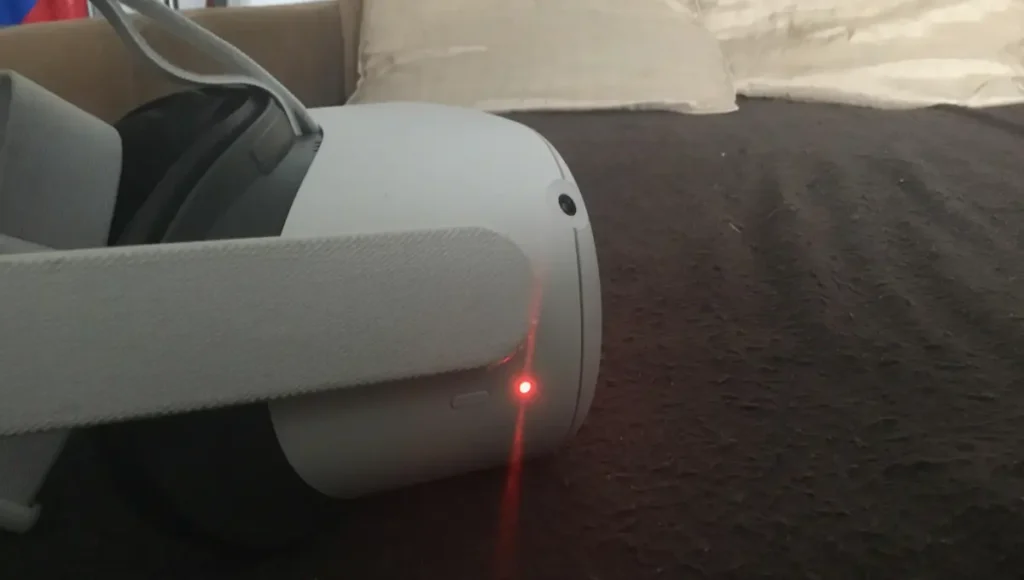
If your Oculus light is staying red, it could indicate several potential issues. Here are some common reasons and possible solutions:
Frequently Asked Questions
Conclusion
First, ensure the device has enough battery by connecting it to a power source and letting it charge for at least two to three hours. Check for charging issues by inspecting the cable, adapter, and power source, and try using an alternative if necessary.
Confirm that your Oculus software is up-to-date by connecting to the internet and checking for updates. If the device feels hot, allow it to cool down before use, avoiding direct sunlight or warm environments. Perform a simple restart by powering off and then on to resolve potential glitches.
If the red blinking persists, consider reaching out to Oculus Support for personalized assistance. In conclusion, seeking support is crucial for resolving persistent issues, as the experts can provide tailored solutions and ensure optimal performance for your Oculus device.

