Oculus Won’t Connect To Wifi: Reconnect Online With This Unique Guide

Oculus Won’t Connect To Wifi: Reconnect Online With This Unique Guide

Struggling to get your Oculus headset connected to WiFi can put a damper on your virtual-reality adventures. But fear not, as we’ve crafted a unique guide tailored to help you swiftly overcome this hurdle and get back to immersing yourself in your favorite VR experiences. 

Whether you’re encountering frustrating error messages during setup or facing recurring issues with maintaining a stable connection, our comprehensive troubleshooting methods are here to rescue you. 

By following our step-by-step instructions, you’ll soon have your Oculus device seamlessly reconnecting to the online world, ensuring uninterrupted enjoyment of all its features. Let’s dive in and get your Oculus back online!

Also Read: Why Does My Oculus Keep Turning Off?

Why is my Oculus Quest not connecting to the WIFI?
Why is my Oculus Quest not connecting to the WIFI?

If you’re encountering difficulties pairing your Oculus Quest or Quest 2 with WiFi, several factors might be at play:

  • Captive Portal Restrictions: Public WiFi networks often require users to navigate through a captive portal page before accessing the internet. This could hinder the initial setup process for your Oculus device.
  • Network Issues: Poor signal strength or slow internet speeds within your network can impede the connection between your Oculus headset and WiFi.
  • Phone Compatibility: Your smartphone’s hardware configuration may not be fully compatible with the Oculus headset, causing difficulties in establishing a WiFi connection.
  • Incorrect Password or Dual SSID Entries: Ensure that you’re entering the correct WiFi password, and be wary of duplicate SSID entries stored on your cellphone, which could confuse the connection process.
  • 5GHz WiFi Compatibility: Connecting your Oculus Quest to a 5GHz home WiFi network might pose compatibility issues that need to be addressed for a successful connection.

How do I Reset my Oculus WiFi?

How do I Reset my Oculus WiFi?

If you’re encountering WiFi connectivity issues with your Oculus Quest, resetting the network can often resolve the problem. Here’s how to do it:

If your Quest is connected to the Oculus mobile app using your phone’s WiFi:

  • Open the Oculus app on your smartphone after turning on your Quest or Quest 2.
  • Select your headset by tapping on the “Devices” option.
  • Then, tap on “WiFi” and choose your WiFi network.
  • Enter your WiFi password and tap “Connect to WiFi” to establish the connection.

If your headset is already connected to WiFi and you need to reset it:

  • Access the universal menu by pressing the Touch Controller symbol located on the right side.
  • Hover on the left side over the clock and select “Quick Settings.”
  • Next, select the “WiFi” option and choose your network connection.

Following these steps should help you reset the network settings on your Oculus Quest, allowing for a smoother WiFi connection experience.

How do I fix the Oculus Quest not connecting?
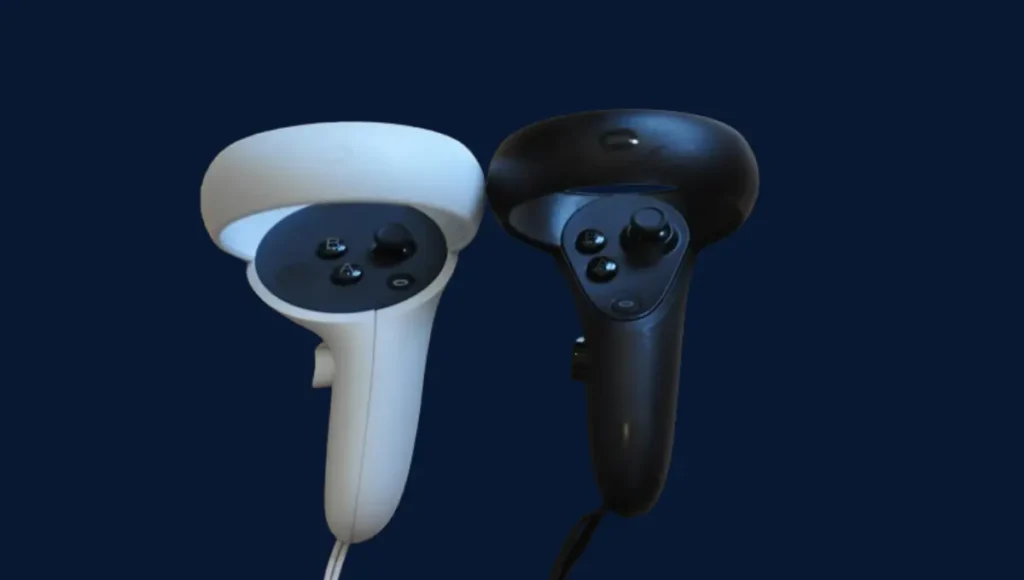
How do I fix the Oculus Quest not connecting?

If resetting the WiFi on your Oculus Quest hasn’t resolved the problem, consider attempting the following troubleshooting measures to address the issue.

1. Bypass captive portal page

When attempting to connect your headset to public WiFi during the Quest setup, you’ll encounter a prompt to interact with the captive portal before gaining internet access. Captive portals are web pages typically seen on free WiFi hotspots provided in different locations.

To ensure a smooth initial setup for your Quest, it’s advisable to use a secured network rather than relying on free WiFi hotspots. Although these hotspots may function for subsequent use, they won’t facilitate the initial setup process. Opting for a secured network will help streamline the setup experience and prevent any connectivity issues.

2. Power cycle the headset

If you’re having trouble with your Oculus Quest’s WiFi connection, a simple fix is to power cycle the headset. Here’s how:

  • Press and hold down the volume minus button.
  • While holding the volume minus button, press and hold down the power button for about 10 seconds.
  • Release both buttons.
  • The headset will restart automatically.
  • Once it restarts, check if it connects to your WiFi network.

This straightforward process often resolves WiFi connectivity issues on the Oculus Quest.

3. Troubleshoot network issues

If your Oculus headset is having WiFi connectivity issues, network problems like weak signal or slow internet speed might be the culprit. Here’s what you can do to fix it:

  • Power cycle your modem: Turn off your modem, wait for a few seconds, then turn it back on. After it restarts, run a quick internet speed test to check for any issues.
  • Check WiFi signal strength: If your WiFi signal is weak, your Oculus headset may struggle to connect. Try moving the headset closer to the modem. If that’s not feasible, consider getting a WiFi repeater to boost the signal strength in your area.
  • Disable and enable WiFi on your phone: Sometimes, resetting the WiFi connection on your phone can help. Turn off the WiFi on your phone, wait for a moment, then turn it back on. Once done, attempt to reconnect your Oculus 2 or Oculus headset.
  • Check for duplicate networks on your phone: If you see the same network listed twice on your phone, it might cause conflicts. Delete both instances of the network, then set up a new WiFi profile on your phone. This can often resolve any issues with multiple network listings confusing.

4. Change 5GHz to 2.4 GHz SSID

An issue within the foundational system of the Oculus Quest 2 can lead to intermittent disconnection from networks operating on the 5GHz frequency band. The most recent software update from Oculus may include a corrective patch aimed at addressing this specific problem. However, to access and install these updates, it’s essential to establish a WiFi connection with your headset. To do this:

  • Perform a factory reset: Start by doing a complete factory reset of your Oculus Quest headset. This clears any potential glitches and restores it to its default settings.
  • Access your router settings: Open a web browser and enter your router’s IP address (usually 192.168.0.1 or 192.196.1.1) in the address bar. This takes you to your router’s configuration page.
  • Login to your router: Enter the router’s login credentials, typically “admin” for both the username and password.
  • Adjust wireless settings: Look for the Wireless Settings option in the left pane and select it. Then, navigate to the Wireless section.
  • Enable 2.4GHz and disable 5GHz: Toggle the settings to enable the 2.4GHz option and disable the 5GHz option. This ensures your Oculus Quest can connect to the network.
  • Save changes and log out: After making the adjustments, save the changes and log out from your router’s configuration page.
  • Create a temporary WiFi hotspot: Use your PC to create a temporary WiFi hotspot and connect your Quest or Quest 2 to it.
  • Download and install updates: Once connected, download and install any available software updates for your headset.
  • Remove the temporary WiFi hotspot: After the updates are installed, remove the 2.4GHz WiFi hotspot from your PC.
  • Switch back to 5GHz on your router: Finally, switch your router back to the 5GHz band and confirm that your Oculus Quest can now connect to your network.

5. Use a different phone

If your Oculus headset pairs seamlessly with your phone via Bluetooth but encounters difficulties connecting to the phone’s WiFi, consider using an alternate phone. This simple workaround has proven effective in resolving connectivity issues for some users. 

By switching to a different phone with similar specifications and running the recommended Oculus software, you may successfully establish a stable WiFi connection. This approach helps circumvent potential hardware compatibility issues and ensures a smoother experience when utilizing the Oculus Quest app with your headset.

How to Connect the WIFI Internet Connection in your Oculus Quest 2?
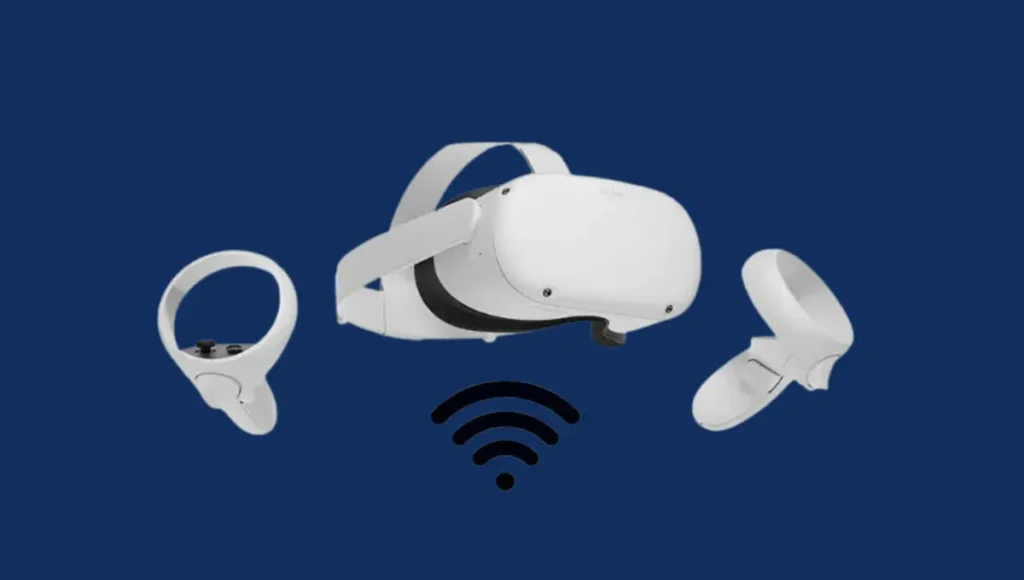
How to Connect the WIFI Internet Connection in your Oculus Quest 2?

Connecting to WiFi on your Oculus Quest 2 is straightforward. Begin by navigating to the WiFi settings in the device menu. From there, enable WiFi and select your network. Enter the network password and confirm. 

Once connected, you can access online features, download games, and perform updates. Remember to ensure a stable internet connection for the best experience with your Oculus Quest 2. 

Frequently Asked Questions

Maybe, an extender can spread internet access to weak spots. Place extender midway for best reception. Use strong passwords on both routers/extenders.

Log into the router admin page. Find QoS or bandwidth management. Add device MAC to the priority list. Reserve upload/download speed for the 5GHz band.

Use a 5GHz band which has less interference. Check device connectivity specifies dual band compatibility. Move Oculus near the router if 2.4GHz only.

The guest network has lower security. Try moving Oculus closer to the router. Check for encryption type mismatch. Update router firmware if outdated.

Yes, a wired connection provides the strongest, most reliable signal than WiFi. Purchase a short Ethernet cable, and connect Oculus to the router for stable use.

Search online or check the Oculus website for your device specs. The minimum requirement is WiFi 4 but 5 provides the best connectivity. Contact support for confirmation.

Conclusion

Overcoming WiFi connectivity challenges with your Oculus device is crucial for uninterrupted VR experiences. By following the unique troubleshooting methods outlined in this guide, you can effectively address issues preventing your Oculus from connecting to WiFi. 

However, if the problem persists despite your efforts, don’t hesitate to seek assistance from Oculus support. Remember, a stable internet connection is essential for enjoying the full potential of your Oculus headset. With persistence and the right guidance, you can reconnect online and delve back into the immersive world of virtual reality with ease.

Similar Posts

Leave a Reply

Your email address will not be published. Required fields are marked *